3. Development environment (C++): Linux + CLion
This is how to develop on a Linux desktop using CLion by JetBrains. In this document, we use CLion 2017.1.2.
Tip
CLion also supports Microsoft Visual Studio keymapping. You can change Visual Studio’s keymapping in
File -> Settings -> Keyamp -> Keymaps.
3.1. Starting a new project
Enter the following commands in a command shell to begin a new project called my_project .
$ funapi_initiator my_project
Your new project is in a directory with ‘-source’ as a suffix. For example, the project above will be named my_project-source. The game development team can put this directory in an SVN or GIT repository to share it.
3.2. Creating a CLion solution file
Enter the following:
$ my_project-source/setup_build_environment --type=clion
A newly created source directory now opens in CLion.
$ clion.sh ~/my_project-source
Note
The clion.sh path may differ depending on where CLion is installed.
3.3. Configuring debugging in CLion
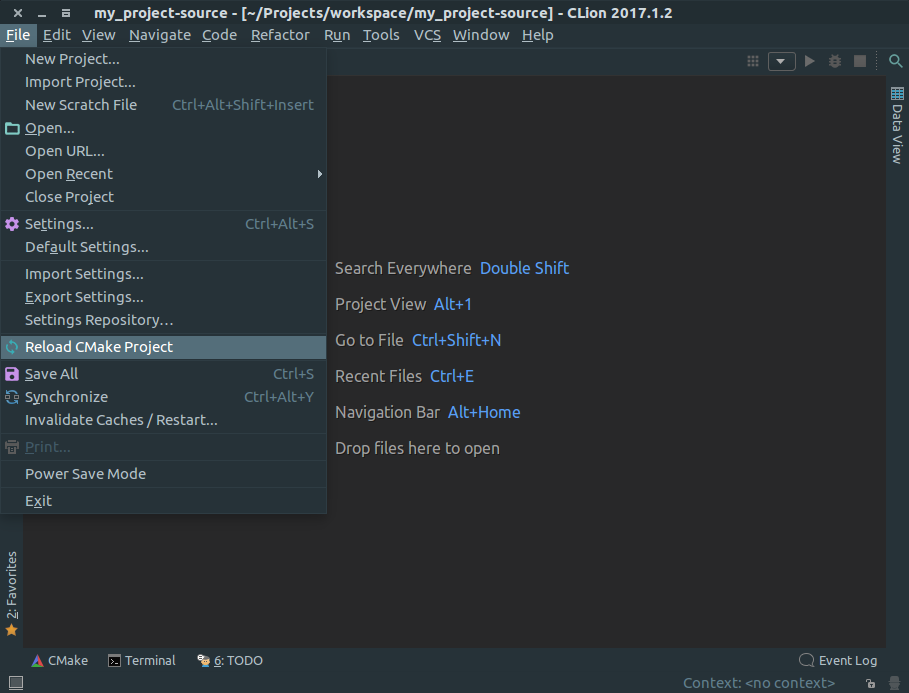
Click on the
Filemenu at the top left of the IDE, and thenReload CMake Projectto proceed a project synchronization. You will see messages readingIndexing ...,Building Symbols ..., orLoading Symbols ...during synchronization. This may take from seconds to minutes depending on your Linux box.
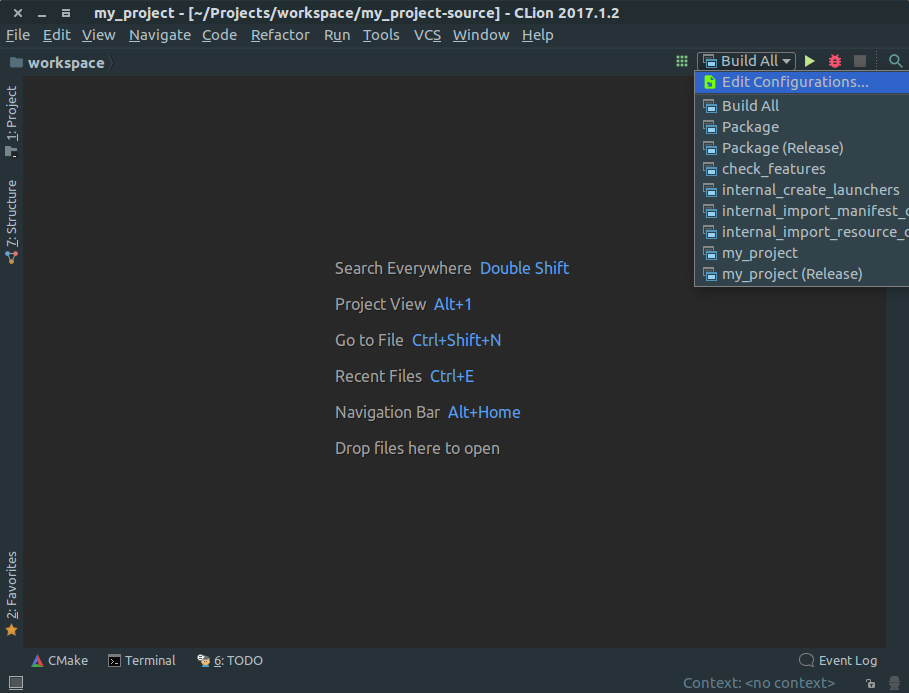
Once the synchronization gets completed, a dropdown list entitled
Build Allis displayed at the upper right of the IDE. You can use this menu to modify build configuration or choose debug/release configuration.Build Allis for a debug build, whileBuild All (Release)is for a release build.
You now need to configure program arguments and LD_LIBRARY_PATH. First, click on
Build Allin CLion to build. Open up a terminal window and move to a build output directory namedmy_project-build/Debug. Type in the following command. Output may differ depending on the project location.$ ./my_project-build/Debug/my_project-local --args --main_program_name=my_project_server.default --app_flavor=default --framework_manifest_path=/usr/share/funapi/manifests:/home/ubuntu/my_project-build/Debug/manifests/default --framework_manifest_override_file=/etc/my_project/MANIFEST.override.json --main_enabled_components=my_projectServer --resource_root=/home/ubuntu/my_project-build/Debug/resources --log_root_dir=/home/ubuntu/my_project-build/Debug/logs --crashdump_root_dir=/home/ubuntu/my_project-build/Debug/dumps --max_log_size=10 --alsologtostderr --stop_logging_if_full_disk
Note
This is only for the debug configuration. For release configuration, enter
hello-build/RelWithDebInfoinstead ofhello-build/Debug.Note
Similarly, if you are using Flavors: Identifying servers according to their role, enter
--argsin thelocalscript for theflavor. If you have aflavorcalledgame, you would enter the following:$ ./my_project-build/Debug/my_project.game-local --args --main_program_name=my_project_server.game --app_flavor=game --framework_manifest_path=/usr/share/funapi/manifests:/home/ubuntu/my_project-build/Debug/manifests/game --framework_manifest_override_file=/etc/my_project/MANIFEST.game.override.json --main_enabled_components=MyProjectServer --resource_root=/home/ubuntu/my_project-build/Debug/resources --log_root_dir=/home/ubuntu/my_project-build/Debug/logs --crashdump_root_dir=/home/ubuntu/my_project-build/Debug/dumps --max_log_size=10 --alsologtostderr --stop_logging_if_full_disk
Go to
Run->Edit Configurationin the CLion menu and paste the output obtained above into theProgram argumentsformy_project.
LD_LIBRARY_PATH must be in the form like a following. Again, the exact path may differ depending on the project location.
LD_LIBRARY_PATH=/home/ubuntu/my_project-build/Debug/src:/usr/lib:/usr/local/lib:/usr/lib/mariadb:/usr/lib64/mariadbsClick on the
...at the right ofEnvironment variables, and set the LD_LIBRARY_PATH variable.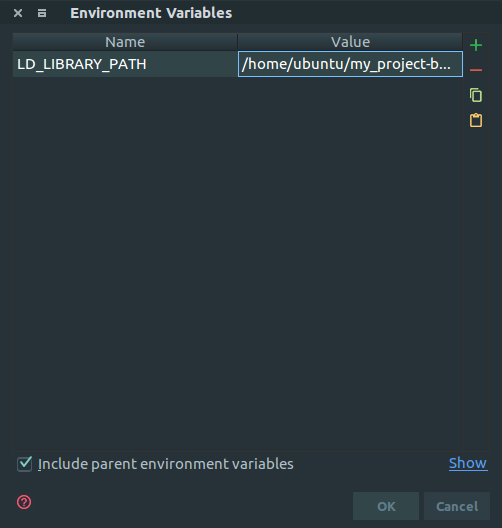
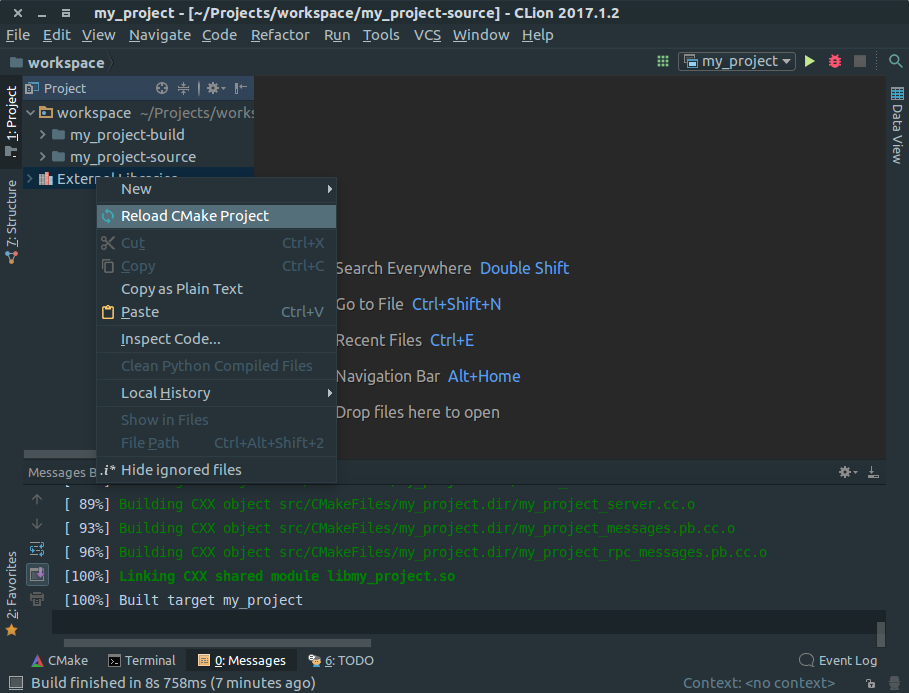
After finishing the steps, right-click on
External Librariesand click onReload CMake Projectto have CLion learn required libraries.
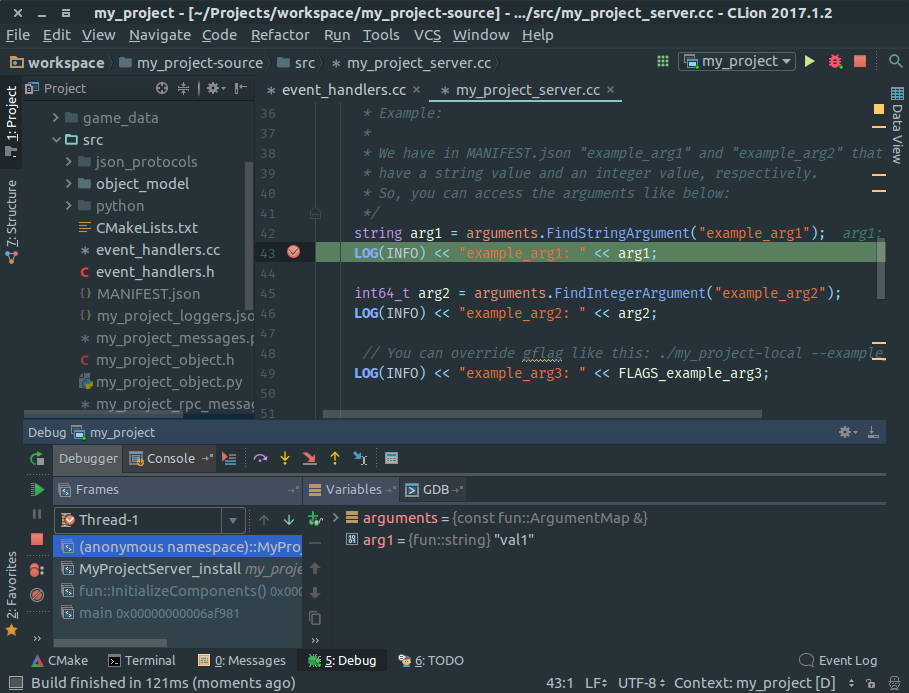
3.4. Debugging in CLion
You can set a debug breakpoint and run debug to debug your chosen build configuration. If debugging does not work, please double-check if LD_LIBRARY_PATH is correctly configured.
3.5. Game packaging in CLion
If you choose Package instead of Build All, your game server will appear in a package file under the my_project-build/Debug directory. For more on packaging, please see Server management part 3: Server packaging.
Tip
If you choose Package (Release), a package for the release build is generated under my_project-build/ReleaseWithDebInfo.